When machine embroidering large and/or stitch-intensive designs I use this hooping technique to make certain the fabric will not pucker or move during the embroidering. It is especially useful when embroidering those designs that have an outline because even the slightest movement of the fabric will cause the outline to be noticeably off.
The steps pictured below show how I do it and what works for me but that does not mean it is the only way or even the right way. Please keep in mind that this hooping technique is by no means for all machine embroidery projects. It is a machine embroidery hooping option and finding what works best for you is a matter of good ol' trial and error.
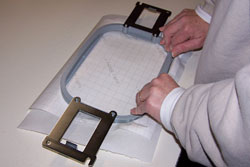
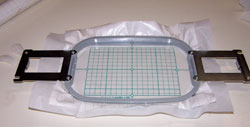
Here I am hooping the Sulky Sticky and a layer of tear-away stabilizer in a 5" by 7" hoop with the sticky on top. I cut both stabilizers a little wider and longer than the hoop.
Be certain the stabilizers are secure in the hoop: Tight, flat and without puckers or bubbles.
Turn your hoop over and check to see if it is 'tight as a drum' or like a tambourine. Betcha can't resist thumping it!
Lightly score the sticky's release side and remove it to expose the sticky backing.
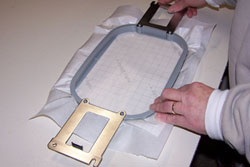
Use your hoop's grid template to place marks on the stabilizer to locate the straightline center and right and left edges.
Be sure to place your grid gently over the sticky with the bowed side up. Otherwise the sticky will do its job and grab onto your template.
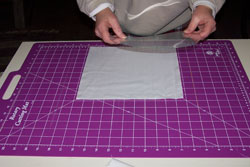
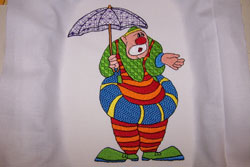
I'm going to embroider a quilt block. Here I have my pre-cut block aligned on my measuring board where I have located the center of the block.
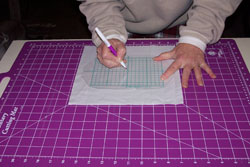
Using your hoop's grid, mark the straightline center and right and left edges of the fabric.
Important: Place these marks on the backside of the fabric.
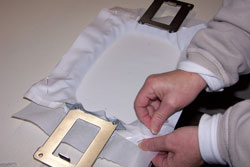
Grasp your fabric from the backside on the marks to make a gentle fold and carefully line it up with the marks you made on the sticky.
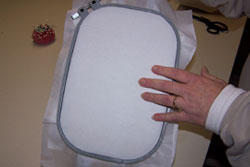
Gently lay out the fabric on the sticky and smooth it to the edges to get good adherence all around.
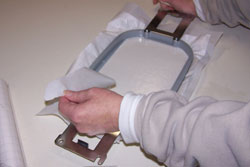
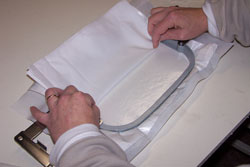
I like to lock the fabric to the part of the stabilizer that is hanging over the edge of the hoop (the part with the paper still on) just to make sure it doesn't get caught on anything while embroidering.
Here I'm pinning it but double stick tape works great, too.
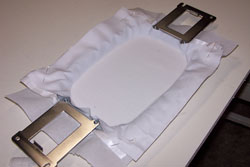
And that's it. The fabric is smooth, taut and ready for embroidery.
Your designs will come out perfect with no puckering or mis-aligned outlines!